The Ultimate Carpet Flooring Installation Guide
When it comes to transforming your living space, few things make as significant an impact as new carpet flooring. At Bradley Floorings of Augusta, we understand that carpet installation is not just about aesthetics; it’s about comfort, warmth, and adding a layer of insulation to your home. Whether you’re an experienced DIY enthusiast or a first-time homeowner, this guide will walk you through the essentials of carpet floor installation. We’ll cover everything from the tools you’ll need to the step-by-step process to ensure your new carpet looks and feels perfect.
Measuring and Preparing the Space
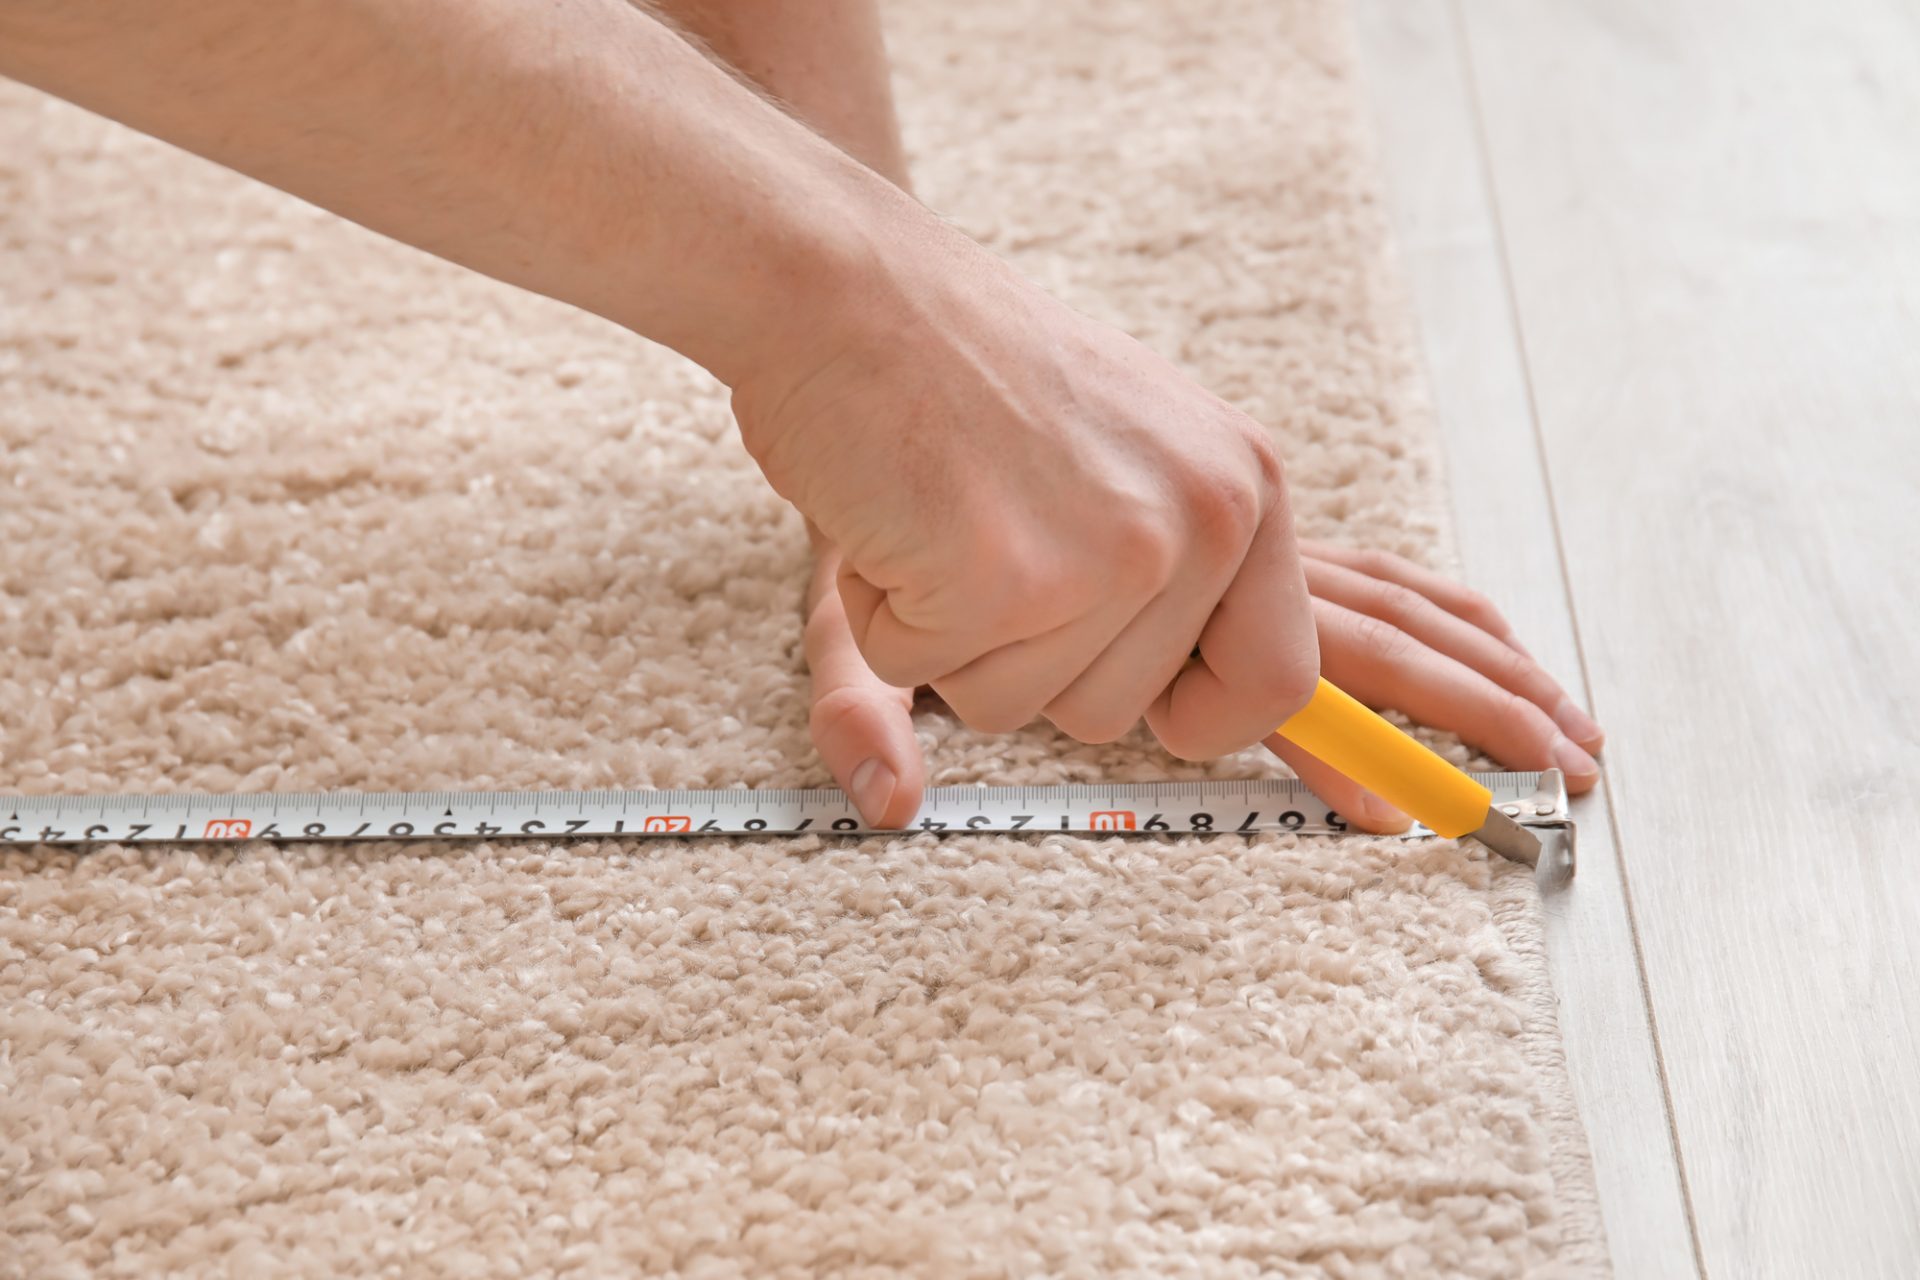
Before you install carpet flooring, you need to accurately measure the room. Start by calculating the square footage. Measure the length and width of the room and multiply these numbers to get the total square feet. Remember to add an extra 5-10% to account for any mistakes or adjustments you may need to make during the installation process.
With your measurements in hand, it’s time to prep the room. Clear the space of any furniture and ensure the subfloor is clean, dry, and level. If you’re removing old carpet, make sure all remnants, including staples and old tackless strips, are fully removed. This clean slate will allow you to install carpet with a smooth, even finish.
Tools You’ll Need
Having the right tools is crucial for a successful carpet installation. Here’s a list of essentials:
- Knee kicker: Used to stretch the carpet and secure it in place.
- Utility knife: For cutting the carpet to size.
- Tackless strips: These are placed around the perimeter of the room to hold the carpet in place.
- Staple gun: To secure the carpet and padding.
- Seaming tape: To join carpet seams together.
- Carpet and padding: The materials you’ll be working with.
- Kicker to stretch: Helps in stretching the carpet across the room.
- Carpet edging: Provides a neat finish to the edges of the carpet.
- Measuring tape: Essential for accurate measurements.
- Chalk line: To mark straight lines for cutting.
Installing Tackless Strips
Start by installing tackless strips around the perimeter of the room, leaving about a half-inch gap between the strips and the wall. These strips have angled tacks that grip the carpet and hold it in place. Make sure the tacks are facing towards the wall. If you’re working with a room with irregular dimensions, you might need to cut the strips to fit around corners.
Laying the Carpet Padding
The next step is to lay down the carpet padding. This padding not only adds comfort underfoot but also extends the life of your carpet. Unroll the padding and cut it to fit using a utility knife, making sure it covers the entire floor space without overlapping. Secure the padding to the subfloor using a staple gun, ensuring it’s tightly in place but not stretched or bunched up.
Unrolling and Positioning the Carpet
Now, it’s time to unroll the carpet. Start at one end of the room and slowly unroll the carpet across the room. Be sure to leave some excess carpet on each side of the room to allow for adjustments. The goal is to position the carpet so it fits neatly, with some overhang on all sides.
Joining Carpet Seams
If your room is wider than the carpet roll, you’ll need to join carpet seams. To do this, lay the two pieces of carpet next to each other, making sure the edges are perfectly aligned. Use seaming tape and a seaming iron to fuse the pieces together. Be careful to match the pile direction to avoid a visible seam.
Trimming the Excess Carpet
With the carpet in place, it’s time to trim the excess carpet along the edges. Use a utility knife to cut along the walls, leaving just enough carpet to tuck into the space between the wall and the tackless strips. Take your time with this step to ensure a clean, professional finish.
Stretching the Carpet
Once the carpet is cut to size, it’s time to stretch the carpet across the room. This is where the knee kicker and kicker to stretch come into play. Starting at one end of the room, use the knee kicker to push the carpet towards the wall, hooking it onto the tackless strips. Move along the length of the wall, stretching and securing the carpet as you go.
Securing the Carpet Edges
After the carpet has been stretched and secured on all sides, you’ll need to tuck the edges into the space between the wall and the tackless strips. This is known as carpet edging. Use a carpet tucker or the edge of the knee kicker to push the carpet into the gap, ensuring a snug fit.
Finishing Touches
The final steps involve going over the entire room to ensure everything is secure. Check for any loose spots, and use the knee kicker or kicker to stretch to make any necessary adjustments. Install the baseboards or molding to cover the edges and give the room a finished look.
If you followed these steps carefully, you should now have a beautifully installed carpet that adds warmth and style to your home. Remember, carpet floor installation requires patience and precision. While DIY carpeting installation can be rewarding, it can also be challenging. If you ever feel unsure, don’t hesitate to reach out to Bradley Floorings of Augusta—your trusted carpet flooring store in Augusta, GA. We’re here to help, whether you need advice or professional installation services.


